

Set up your first brand
Add a brand, describe it well, and connect the accounts Verbolica needs.
A brand is one business you create content for. The more Verbolica knows about it, the better everything it writes will be.
Create the brand
Open the brand switcher and choose Add brand. Give it a name and the website address.
Work through the setup wizard
Brand Settings walks you through seven steps:
- Basics: name, website, industry and location.
- Voice: how the brand sounds, and words it does or doesn't use.
- Personas: who the brand is talking to and what they care about.
- Products: what it sells, with the selling points that matter.
- Competitors: who it competes with online. Verbolica compares rankings against them.
- Connections: WordPress, Google and social accounts.
- Review: check everything and save.
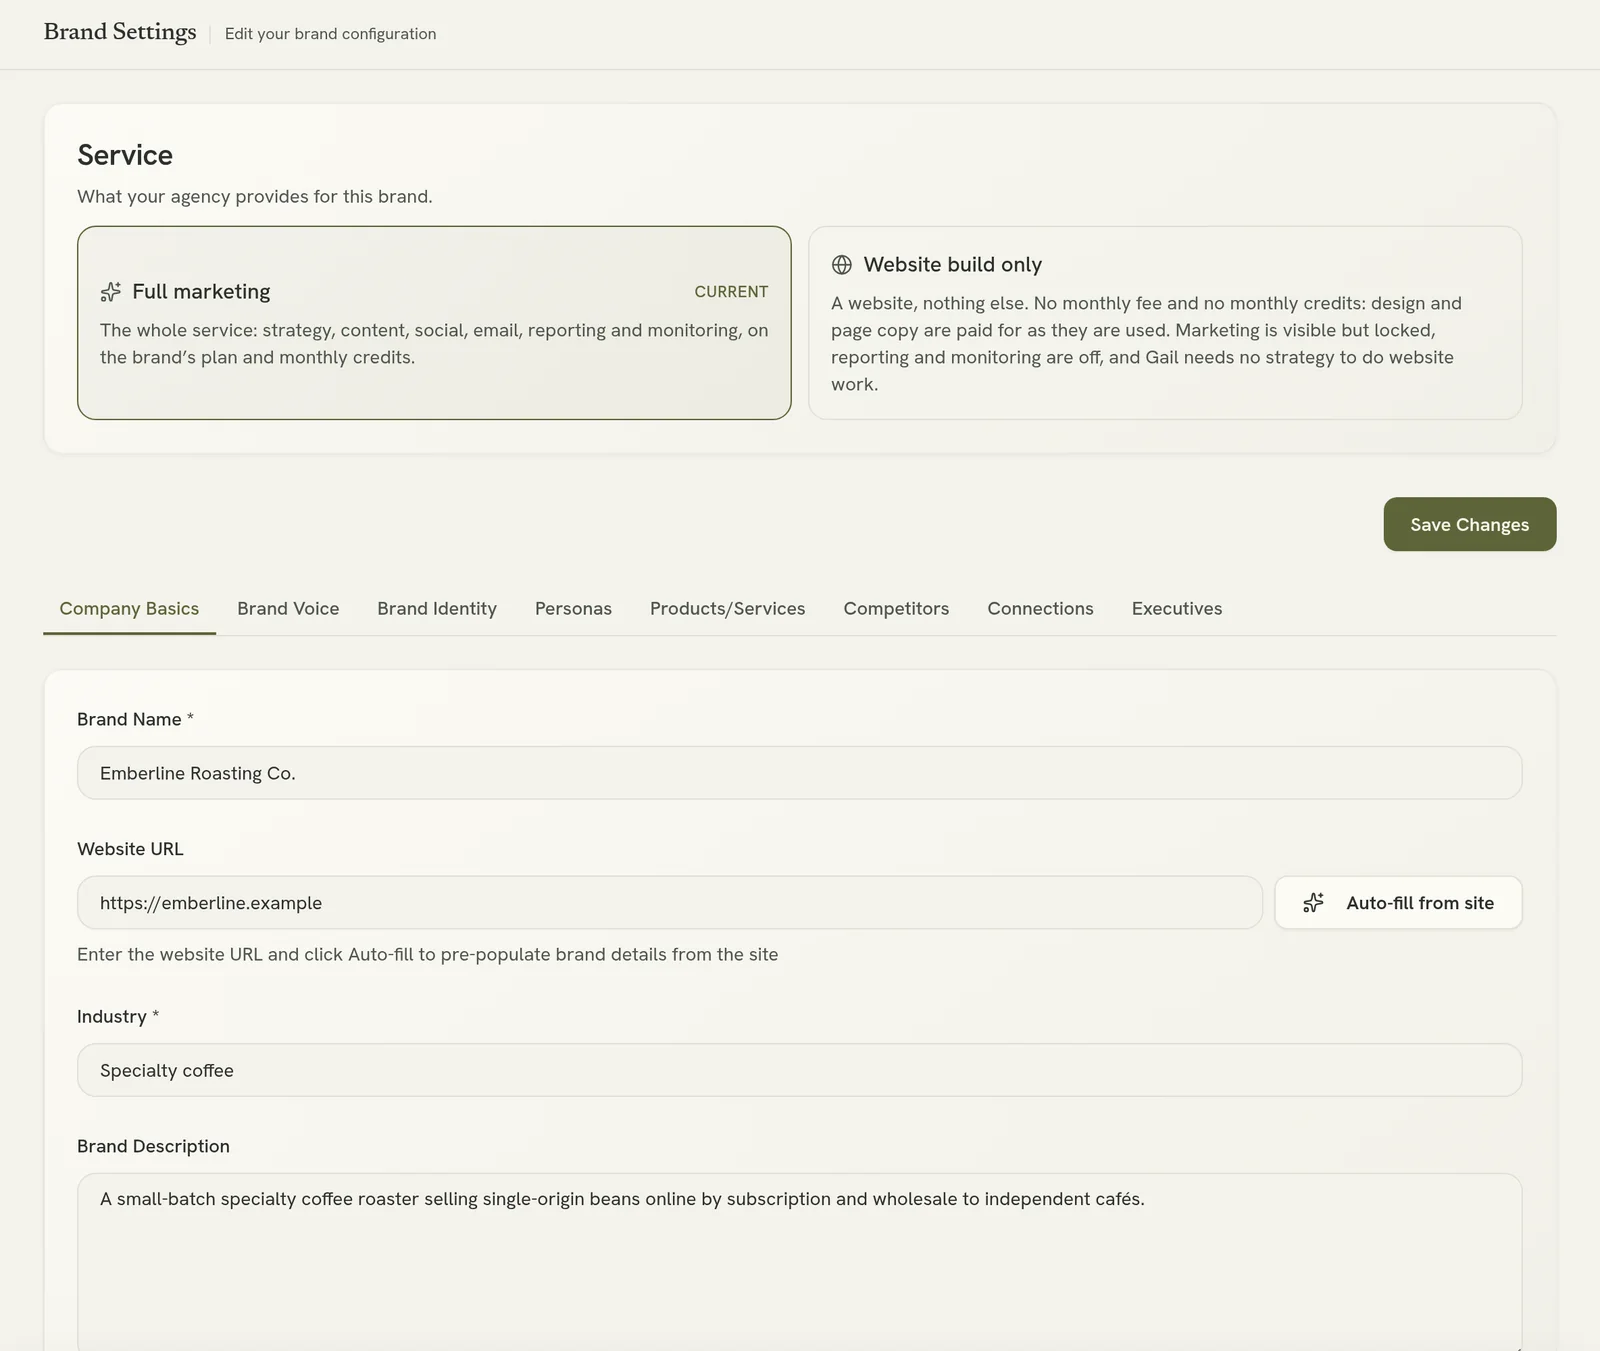
Every AI feature reads this information, so it is worth getting right. You can change it any time in Brand Settings. For colours, fonts, logos and design direction, see Brand identity and brand guide.
Connect the website and data
- Install the WordPress plugin so Verbolica can publish and track engagement.
- Connect Google so plans and reports use real search and traffic data.
- Connect social accounts if you will publish social posts.
Add brand knowledge (optional, recommended)
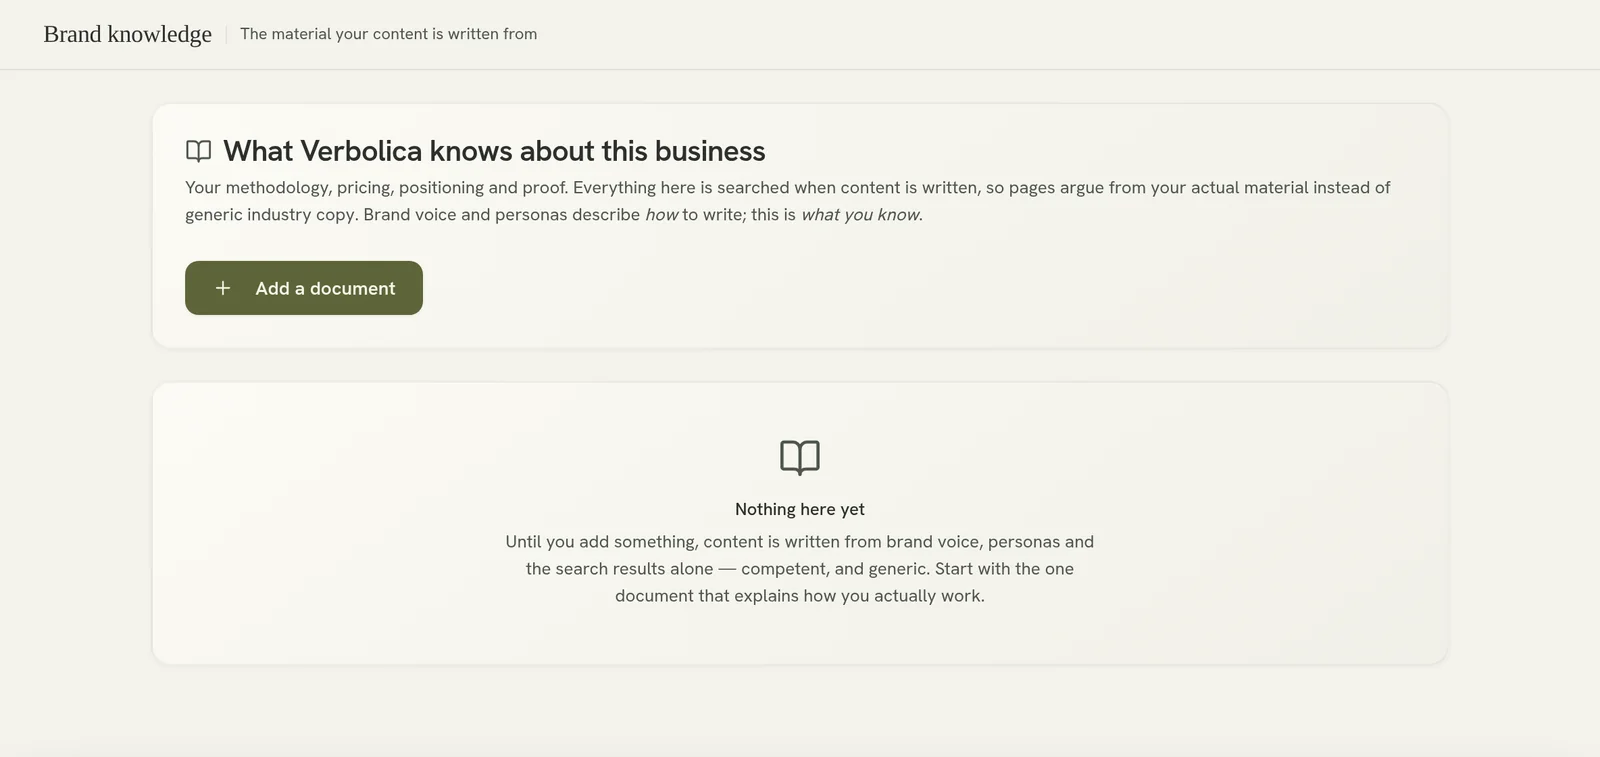
In Brand Settings → More brand settings → Brand knowledge, add the business's own material: methodology, pricing, positioning, case studies and research. Verbolica searches it every time it writes, so content argues from the brand's real expertise instead of generic industry copy.
The setup checklist
The brand dashboard shows a progress bar for the key steps: WordPress, Search Console, Analytics, personas, products, content pillars and keywords. Work through it until it is complete.
Save before connecting
Connections need a saved brand. If a Connect button is greyed out, save the brand first.